If you’re like me, you’ll spend so much money buying ready-made oat milk (m*lk, mylk etc.) in the shops. I don’t know why it took me so long to start making my own, but it honestly couldn’t be easier. This recipe presents a zero-waste concept (keep reading for the hints and tips) and needs only 2 ingredients at minimum. Of this, you’re already likely to have the ingredients you need at home. How perfect and it could not be more simple too!

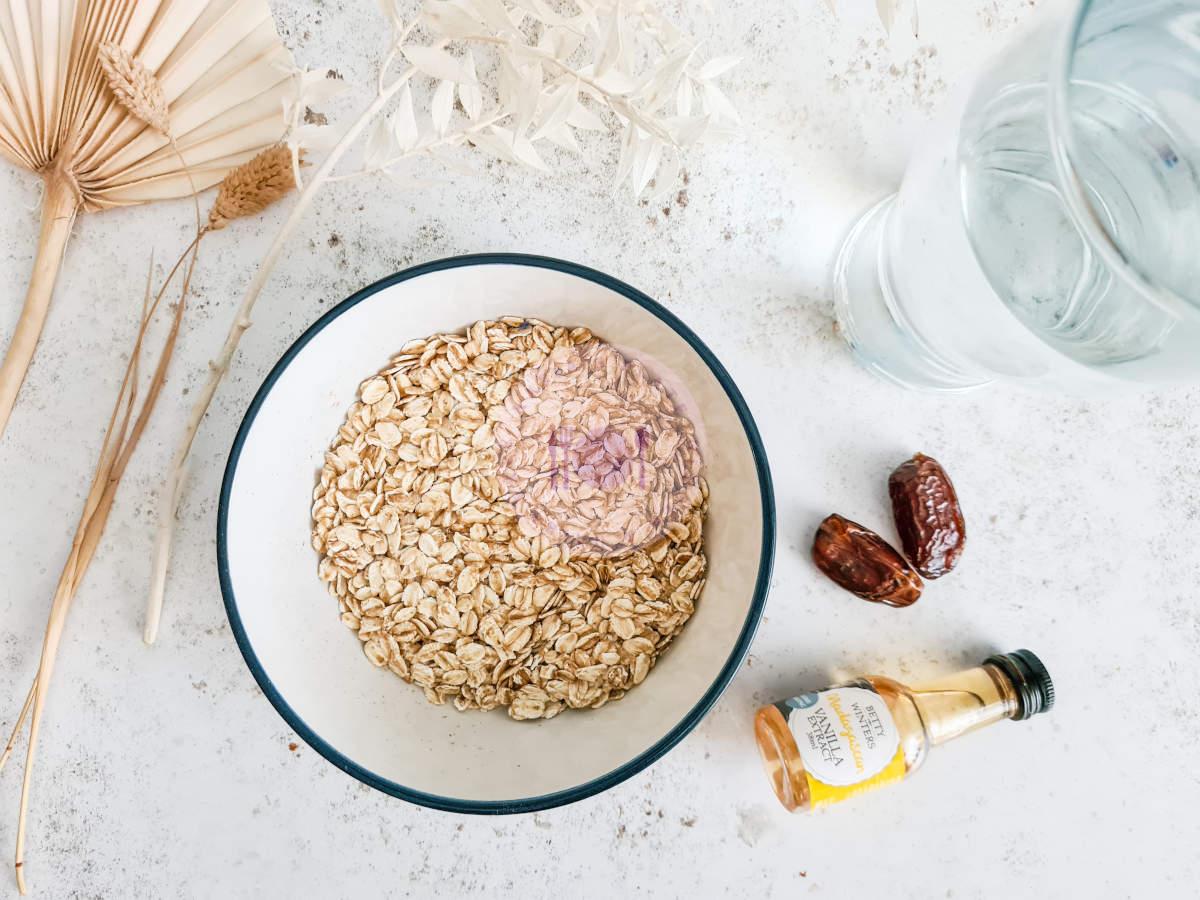
If you’re not sure by now, oat milk is a plant-based ‘milk’ which is consumed by dairy-free folk and vegans alike. Some non-vegans who I know actually prefer the taste to regular cow’s milk. Being intolerant to dairy, this is one of the types I have tried numerous times over the years. Whilst there are plenty of great brands out there like Glebe Farm, Alpro gluten free and Plenish for convineince, it takes less than 5 minutes to make your own. All you need is some water and gluten free oats plus a blender. Just add in some dates, vanilla and a pinch of salt for taste.

Hints and tips for the oat milk:
- Do not overblend your oats – you only need to blitz got 30-40 seconds (and definitely not over a minute) to prevent any ‘slimy’ residue in the oat milk.
- Double strain the oat milk for optimum smoothness. Some of the oat residue can leak through, so I double-strain the oat milk to help catch more of the leftover grains. Plus, more porridge for the next day so win-win!
- Do not pre-soak your oats as this can also cause the oats to become slimy. I often pre-soak my oats for porridge, but you should use them dry in this recipe.
- Yes – you can freeze this oat milk for up to 3 months.
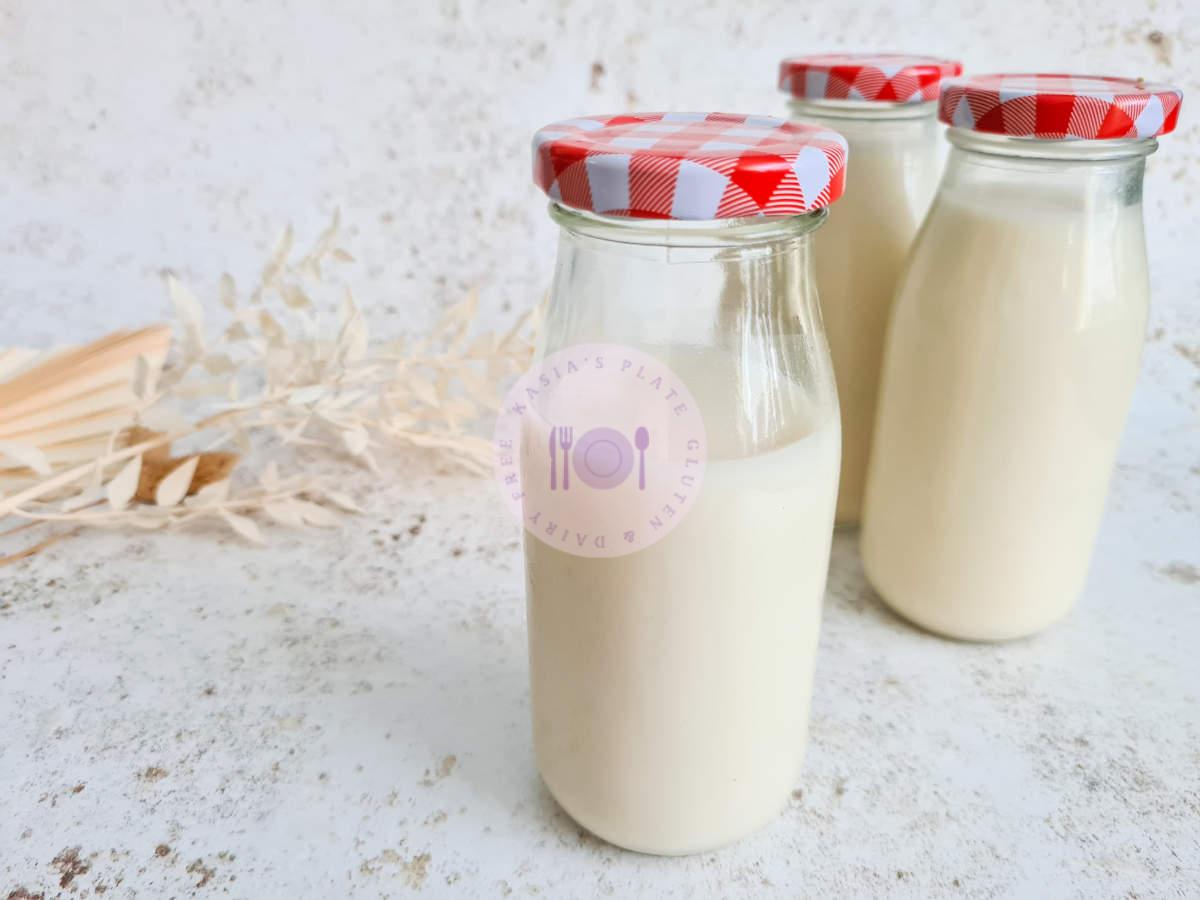
- Seal in small containers for longer storage – it will last you up to 7 days by splitting into smaller milk bottles rather than one large bottle due to the less number of openings. I personally love milk bottles with screw caps for extra air-tightness.
- Use ice cold water – definitely recommended to stop ‘slimyness’. I feel I keep mentioning this word? Crucial though.
- Do not ‘over squeeze’ the straining bag as this can cause extra residues to peak through and drop into your nice, fresh oat milk. We don’t want that!

I mentioned at the start that this is a somewhat zero waste recipe. Whilst you could just make the oat milk and discard the leftover oat scraps caught in the cheese cloth, why not utilise these in oat flour recipes or even in a breakfast porridge bowl? Some of my favourite recipes use oat flour as a source of healthy carbohydrates and fibre, just like these vanilla protein waffles, moreish berry crumble bars and strawberry protein oat cake.

Ingredients
Method
- Place all of the ingredients into a blender and pulse on high-speed for 30-40 seconds (ensuring you do not over-blend as this may cause the mixture to become slimy)
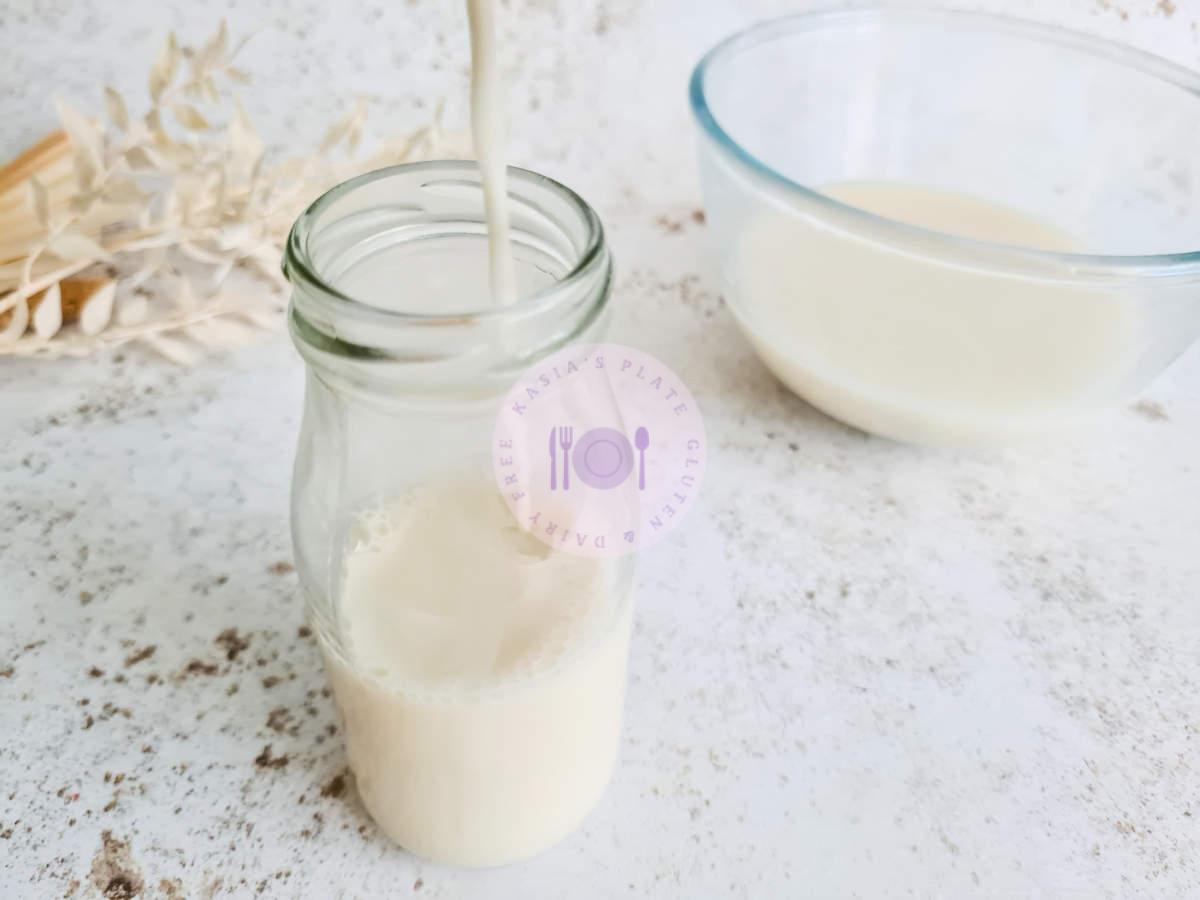
- Place a nut milk bag over a large bowl and pour the blended oat milk into the bag
- Let the milk gently pass through into the bowl before lightly squeezing the bag to help encourage the excess liquid through (do not squeeze too hard to ensure the oat residue does not pass through)
- Strain a second time to ensure smooth and creamy oat milk with no oat residues
- Pour into air-tight containers (preferably with a screw-top lid) and place in the fridge
- Enjoy!
Notes
- Shake well before use as milk may settle
- Store for 5-7 days in air-tight bottles in the fridge
- Suitable for freezing up to 3 months
- Calories are a rough estimate for the total 750ml batch


