Retro School Sprinkle Cake

Well is this just simply a blast from the past? 10-year-old me would be so proud that I managed to re-create this retro school sprinkle cake recipe in a gluten and dairy-free version. Before my food intolerances were defined, I would always eye up this cake when in line at primary school lunch time. I’d never be that worried what was for mains, but my eyes always darted to the dessert. We always had a choice of two – and I knew which I was longing for. I’d always be so gutted if I missed the last slice! I had a massive sweet tooth from a young age you see.

I’ve spoken to many people and everyone remembers this cake – even those several generations above mine. My original birthday cake idea wasn’t going to plan – due to some missing decorations – so I decided to whip this up last minute instead. I actually mentioned this to my nanna on the phone right before I started. We reminisced about the simplicity of this cake and the star of the show – as you could call it – being the custard. Well, it wasn’t the star due to being perfect – not by any standard. We both remembered a slightly clumpy, neon pink sugary mess. However, there is nothing quite like it really! I’ll have to try and make it next time I bake this.

Retro school sprinkle cake wasn’t the only dessert we had in primary, but it was my favourite of the tray bakes. I also remember a dry chocolate cake with the lumpy custard, but chocolate form this time, and a coconut jam sponge with yellow custard. Do you remember any of these? I feel the sprinkles cake was the most common of the lot.

The best part about this traybake though? They are such simple bakes that you can easily create them at home! Who doesn’t want to re-live their childhood memories of cakes and all things sweet? If you have leftover sprinkles – you could even try my funfetti vanilla cupcakes too.

As this is such a quick and easy bake, you can whip it up on the fly to have as a treat to yourself or to share with friends and family. It is a classic that I know everyone will love. Plus – sprinkles make everything so fun.

Don’t have sprinkles? You can top this with anything – or even keep it plain. I also remember it often having pink icing too, quite like a Tottenham cake. You could easily create this with a few added drops of food colouring. I try to keep my recipes simple so you can have a play and add your own flare. Why not have a go with this one?

Retro School Sprinkle Cake

Kasia
Gluten-free, Dairy-free, Vegetarian, Nut-free
Prep Time 30 minutes
Cook Time 25 minutes
Cooling Time 1 hour
Total Time 1 hour 55 minutes
Course Dessert, Snack
Cuisine American, Australian, British, Canadian, European
Servings 12 Slices
Calories 362 kcal

Equipment

  • Oven
  • Mixing Bowl x2
  • Baking tray (10½ x 8 inches)
  • Greaseproof Paper
  • Mixing spoon
  • Sieve
  • Spatula
  • Wire rack

Ingredients
  

For the vanilla sponge

  • 200 grams Dairy-free butter Recommendation: stork butter block
  • 210 grams Caster sugar
  • 3 large Eggs
  • 200 grams Self raising gluten-free flour
  • 1/4 tsp Xanthan gum Omit if your flour blend already contains this
  • 2 tbsp Milk Recommendation: coconut, soya, rice, oat or almond milk
  • 2 tsp Vanilla extract

For the topping/decoration

  • 330 grams Icing sugar
  • 1/2 tsp Vanilla extract
  • 75 ml Milk Substitute: warm water
  • 3-4 tbsp Sprinkles

Instructions
 

To make the vanilla sponge

  • Pre-heat the oven to 180°C (conventional) or 160°C (fan)
  • Line the baking tray with greaseproof paper and set aside
  • In a mixing bowl, cream together the butter and sugar using a mixing spoon until a thick, smooth and soft mixture forms
  • Add the eggs into the bowl, one at a time, and mix with the creamed butter until combined
  • Add in the vanilla extract and milk and mix again
  • Using a sieve, add in the flour in portions and mix in until well combined (adding the flour in slowly gives a smoother texture)
  • Pour the batter into the lined baking tray and use a spatula to even out the top of the mix
  • Place in the oven and bake for 25-30 minutes (until a toothpick/knife comes out clean and the sponge turns slightly golden)
  • Leave the cake in the tin to cool for 15-20 minutes before moving to a wire rack to cool completely

To make the icing and decoration

  • Once the cake as cooled completely, mix together the icing sugar and milk in a bowl until combined
  • Add in the vanilla extract and mix in again
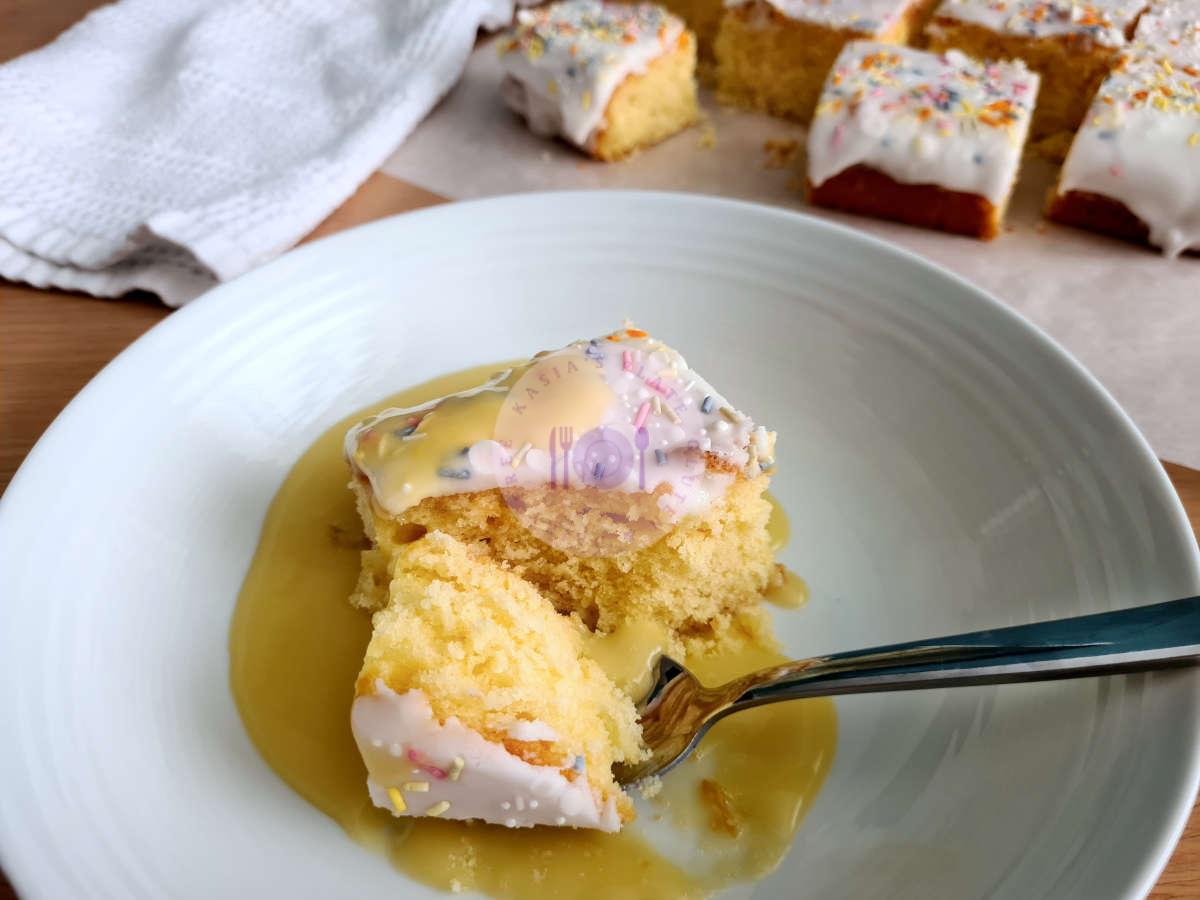
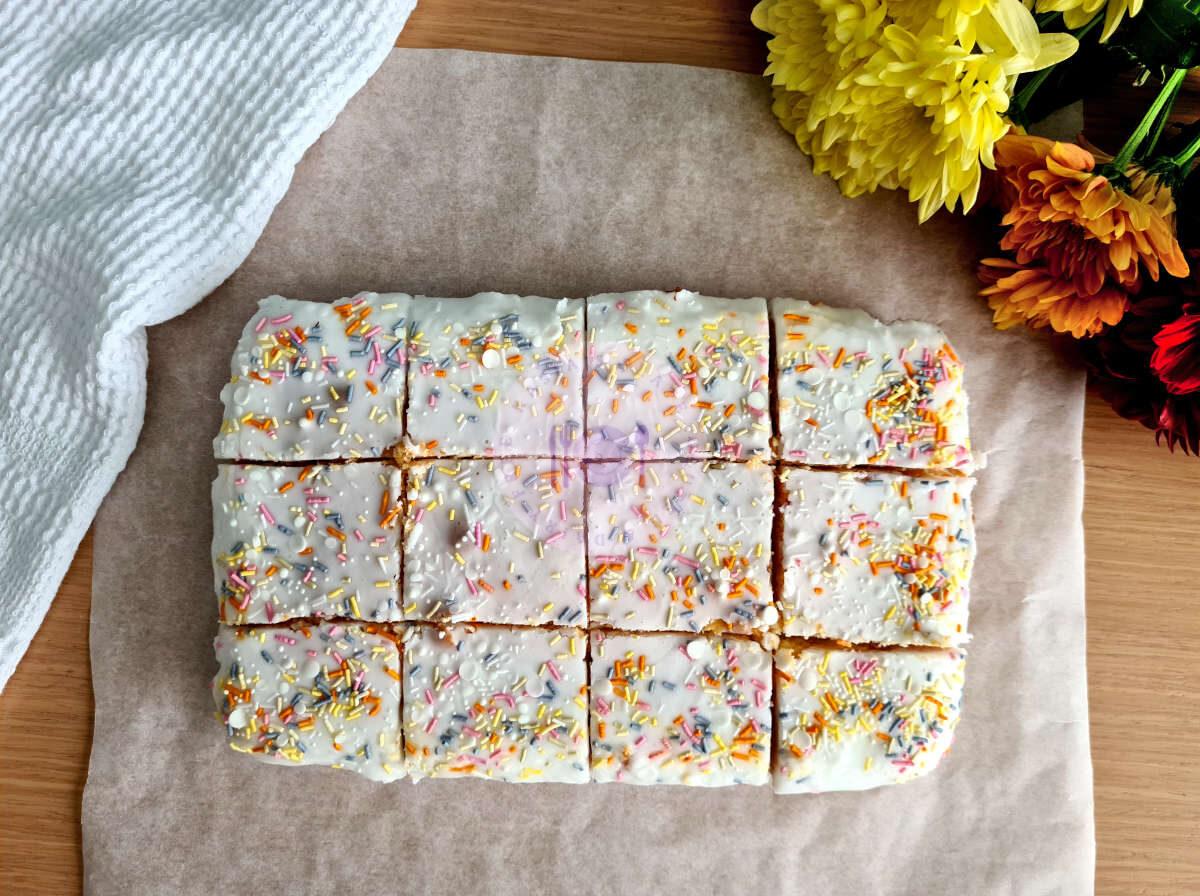
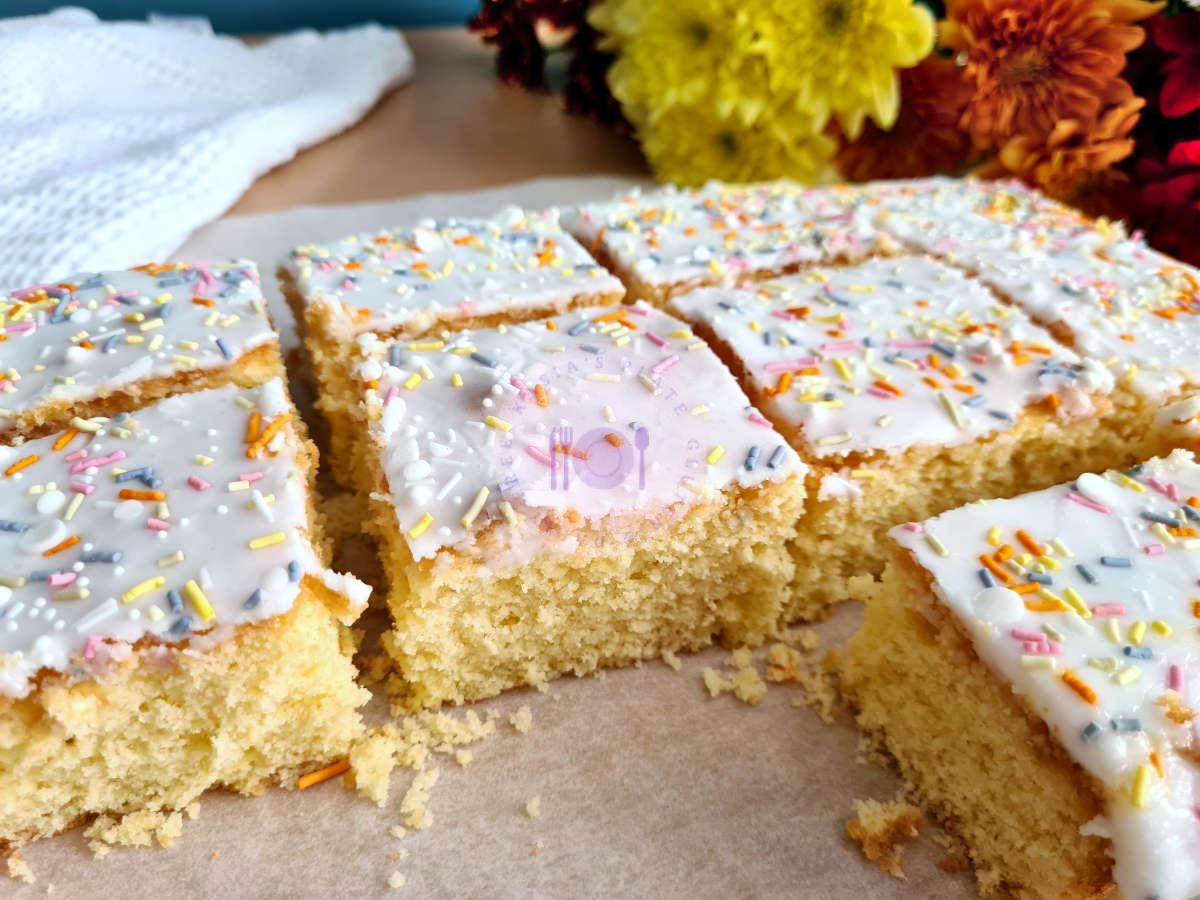
  • Pour the icing over the centre of the cake top before moving outward (do not panic if it drips slightly over the edge - starting in the centre will make sure the majority of the top is covered)
  • Whilst the icing is still wet, add the sprinkles to the top of the cake then leave to set
  • Cut the cake into 12 equal portions and enjoy!

Notes

  • Storage: in an air-tight container at room temperature for 3-5 days
  • Not suitable for home freezing
  • Calories include the sponge and icing but not the sprinkles
  • Best served with warm custard
Keyword Dessert, Easy Recipe, Funfetti, Icing, Retro, Retro Cake, School, School Cake, Simple, Sponge Cake, Sprinkles, Vanilla, Vanilla Sponge
Verified by MonsterInsights