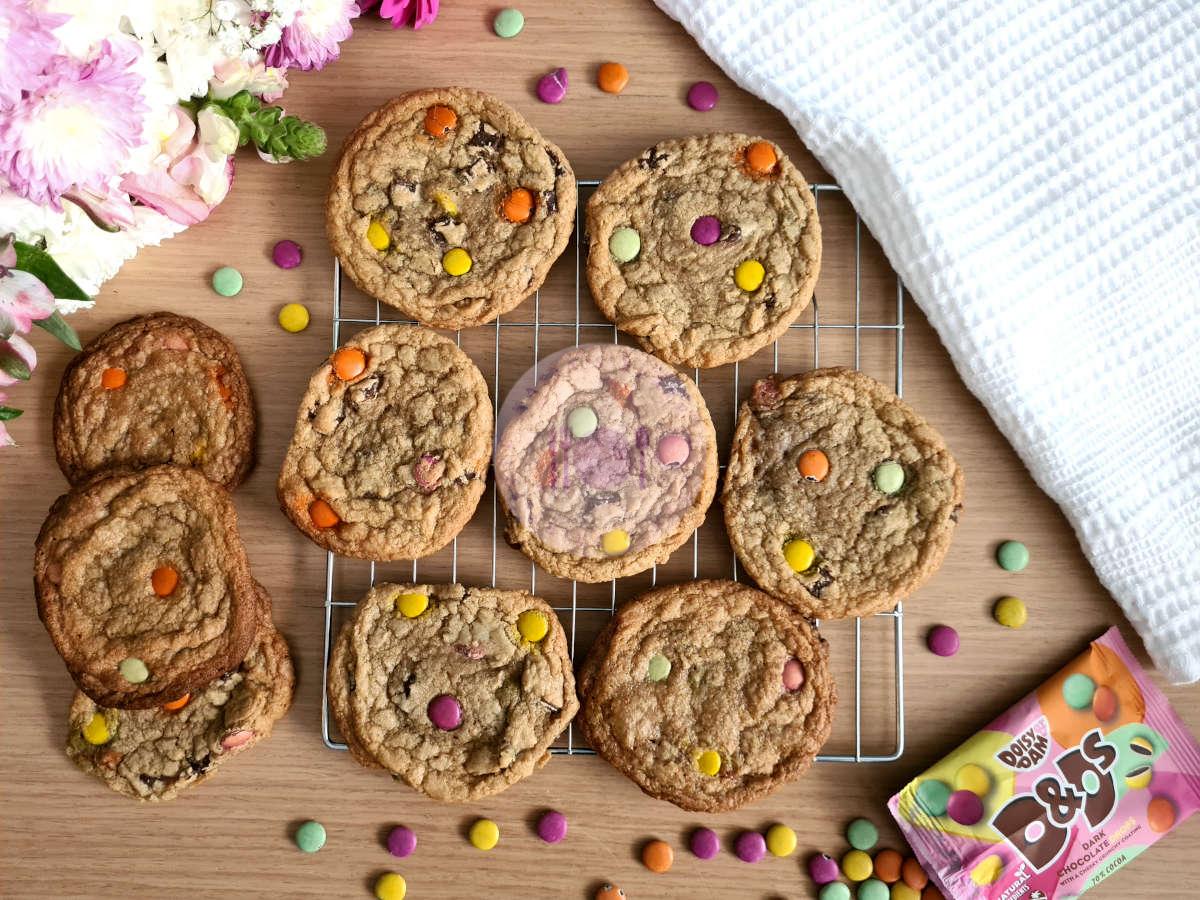
Who doesn’t love a good chocolate cookie recipe? For me, I am usually a fan of the chunky NYC-style ones. However, I realised I didn’t have a ‘chewy cookie’ recipe on the website.
I have made chewy cookies before, but managed to misplace the recipe! Instead of moping about it – I challenged myself to make it all over again – but vegan this time. A lot of the people who follow my pages live a vegan lifestyle, so I thought this would be an ideal chance to try something out of my comfort zone.
I had so much fun with this that I can’t wait to try and ‘veganise’ some more of my recipes. Please let me know on my contact form if you’d like to see anything in particular.
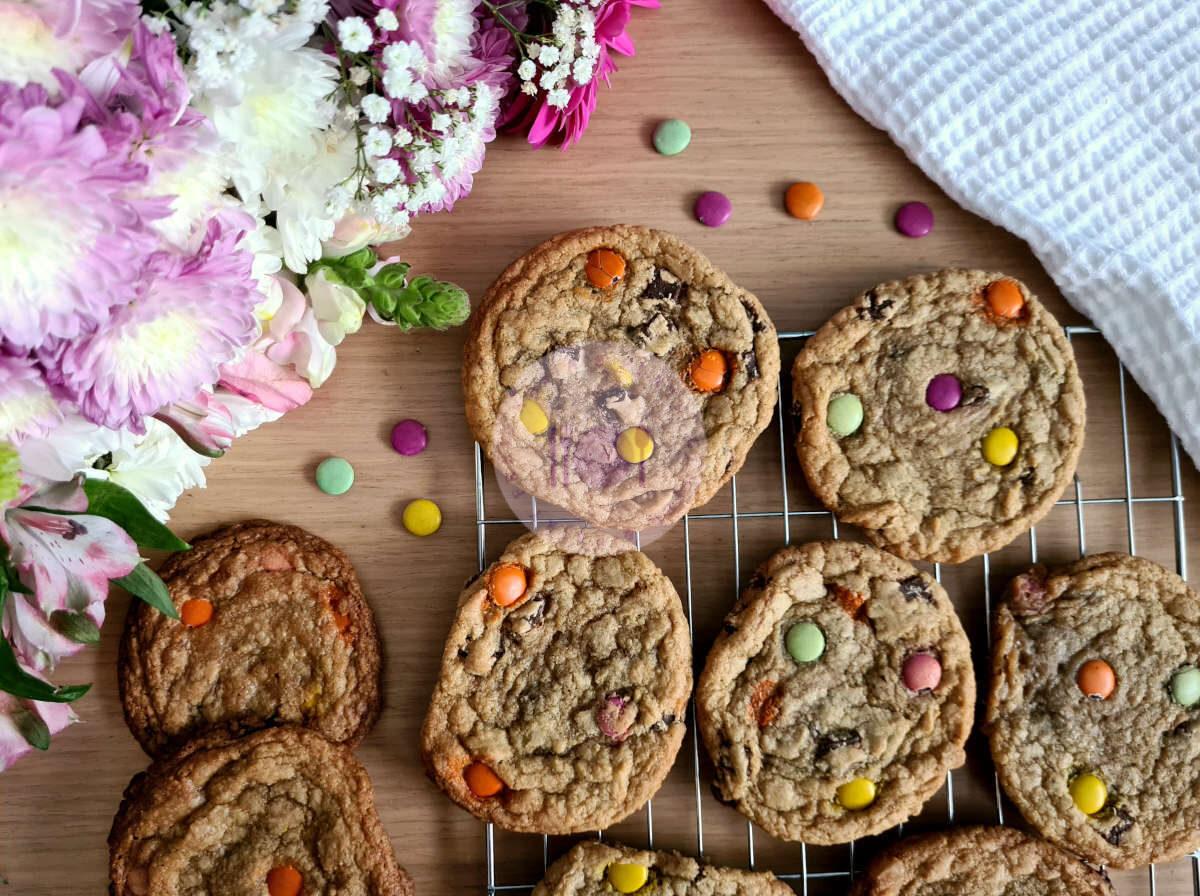
These cookies are very moreish! I must say. They have a ‘toffee-like’ texture and beautiful banana undertones. I always love to use a blend of sugars in this recipe. The brown sugar gives that nice caramel bite whilst the white sugar adds sweetness. Saying this, you could easily replace both components for sweetner and coconut sugar to make the cookies refined sugar-free.
I did try making these with applesauce previously, but found that the banana helped to bind the dough so much better. Therefore, this is a slightly updated recipe for you all.
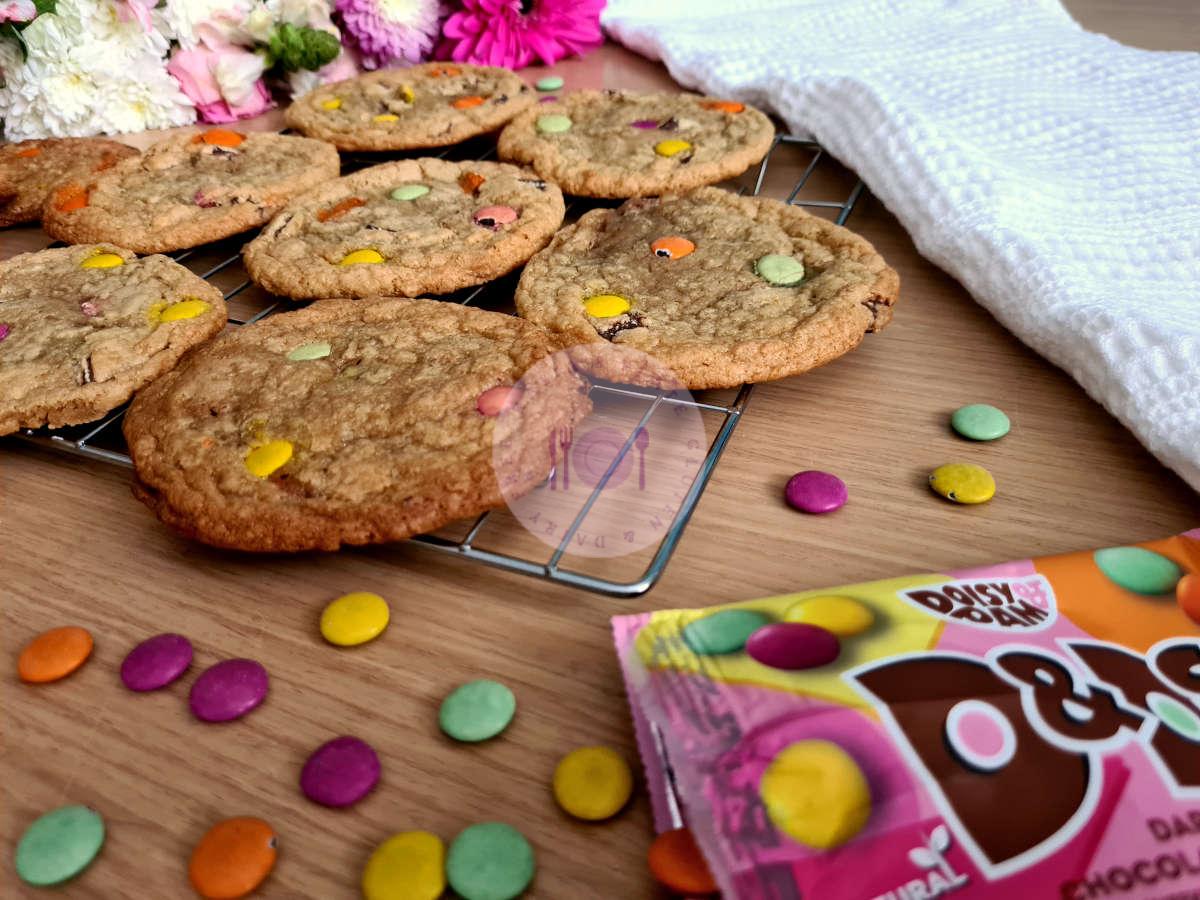
With my updated recipe, I decided to have shiny new photos too. When baking this batch, I was doing an advertisement for Doisy and Dam so added in some of their smarties. I love these so much and buy them often. Smarties + cookies = heaven.
Ingredients
- 100 grams Caster sugar
- 155 grams Brown sugar Substitute: Coconut sugar
- 120 grams Vegan butter I use stork blocks
- 1 Large Banana Mashed
- 1 Tsp Vanilla extract
- Pinch Salt
- 260 grams Plain gluten-free flour
- 1/4 Tsp Xanthan gum Omit if your flour blend contains xanthan gum already
- 1 Tsp Baking powder
- 75 grams Dark chocolate Chopped into chunks
- 75 grams Milk chocolate Chopped into chunks
Method
- In one bowl, place the flour, xanthan gum, salt, dark chocolate chunks and half of the milk chocolate chunks (keeping half for toppings) and mix together. Pop this aside for later.
- In a second bowl, melt the butter gently in the microwave so it becomes soft (about 30 seconds)
- Beat the sugar and melted butter with a spoon until creamed. Add the mashed banana and vanilla extract to the bowl but do not mix at this point.
- Slowly add the dry flour and chocolate mixture to the bowl containing the creamed sugar and butter. Gently fold the mixture in, doing this in sections until all is combined. Do not over mix.
- Pop into the fridge for at least 2 hours to chill the dough. This is important as it stops spread of the cookies and prevent ultra sticky dough.
- Pre-heat the oven to 180°C (fan)
- Line two baking trays with grease proof paper.
- Once chilled, take about 1.5-2 Tbsp of dough mixture and roll in the palms of your hands until it forms a ball.
- Pop the ball onto the lined baking tray and press down lightly, retaining the ball shape overall.
- Repeat this until the mixture has been used up (it should make about 12 balls). When placing them on the tray, ensure you leave a couple of inches between each ball as they will spread slightly.
- With the leftover milk chocolate chunks, add pieces to the top of each ball of dough (I added 2-3 chunks per cookie).
- Pop into the oven and bake for 12-15 minutes. I took mine out at about 13-14 minutes here. Do not be fooled - they will still be very soft - but they are done. They should be slightly browned and the edges should be firmer, with a gooey middle. Do not press the cookies as they may collapse.
- This is the important part. Do not move them off the tray until they have cooled completely. Pop the trays onto a heat-proof work surface. It may take about an hour to cool completely. If you try to move them when still hot, they will break apart.
- Once cooled on the tray, invert the cookies and pop them on a plate in the fridge to cool the base. I found the base was very soft after cooling so be gentle here. Also a key step.
- Once cooled in the fridge for 30 minutes, they should be perfect to eat. You could even give them a 20 second blast in the microwave if you prefer - but they are super soft. I recommend eating from the fridge/room temperature.
- Enjoy!
Notes
- Store baked cookies in an air-tight container in the fridge for up to 5 days or in the freezer for up to 3 months.
- Tip: if you do not want to bake all the cookie dough now, it will store in the freezer for up to 3 months so you can bake cookies on demand.
