Ingredients
Equipment
Method
To make the cake sponge
- Pre-heat the oven to 180°C conventional (160°C fan)
- Line the two cake tins with greaseproof paper and set aside
- In a mixing bowl, beat together the sugar and butter until smooth and creamy
- Using a second bowl, split the egg whites into the new bowl (setting it aside for later) and the egg yolks into the bowl containing the sugar and butter mixture
- Beat in the egg yolks into the sugar and butter mixture
- Using a sieve, sift in the flour, xanthan gum, bicarbonate of soda, baking powder to the bowl containing the eggs, butter and sugar and mix together
- Optional: mix in the apple cider vinegar to the plant-based milk to create a vegan 'buttermilk'
- Little by little, add in the plant-based milk/buttermilk and then whisk until everything is combined well
- Add the crushed Oreos into the cake batter bowl and mix in until combined
- Get the bowl containing the egg whites and whisk until stiff peaks form (~8-10 minutes)
- Gently fold the egg whites into the rest of the cake mixture using a spatula, ensuring not to mix too much which will cause the whisked in air to escape
- Evenly pour the cake batter between the three tins and level out with the spatula if needed
- Bake for 32-35 minutes until golden and slightly risen
- Remove from the oven after baking and leave in the tins to cool (~30 minutes)
- Remove from the tins and place on a wire rack for a further 30 minutes to cool completely
- Use a serrated knife to level out the top of the cakes, cutting off any 'dome shaped top' that may have formed during baking
To decorate
- When you are ready to decorate, beat together the butter, cream cheese and icing sugar in another bowl (this will take about 10 minutes to get a smooth and silky finish - using a machine if you wish)
- Fold in the crushed Oreos into the cream cheese buttercream, ensuring relatively even distribution
- Place the bottom sponge onto an even surface (or cake board) to decorate
- Using a piping bag and nozzle, spoon a small amount of buttercream into the bag and evenly pipe buttercream onto the top of the first cake layer in a spiral motion, starting from the outside and going in
- Use an icing spatula to even out the layer of icing so it is fully covered
- Place the 2nd cake tier onto the base and create a 'sandwich' with the icing
- Take the icing spatula and coat the cake in 1/3 of the icing to create a crumb coat
- Place the cake in the fridge for ~15 minutes for the coat to harden
- Use the remaining icing to coat the rest of the cake evenly, using the icing smoother to create an even finish
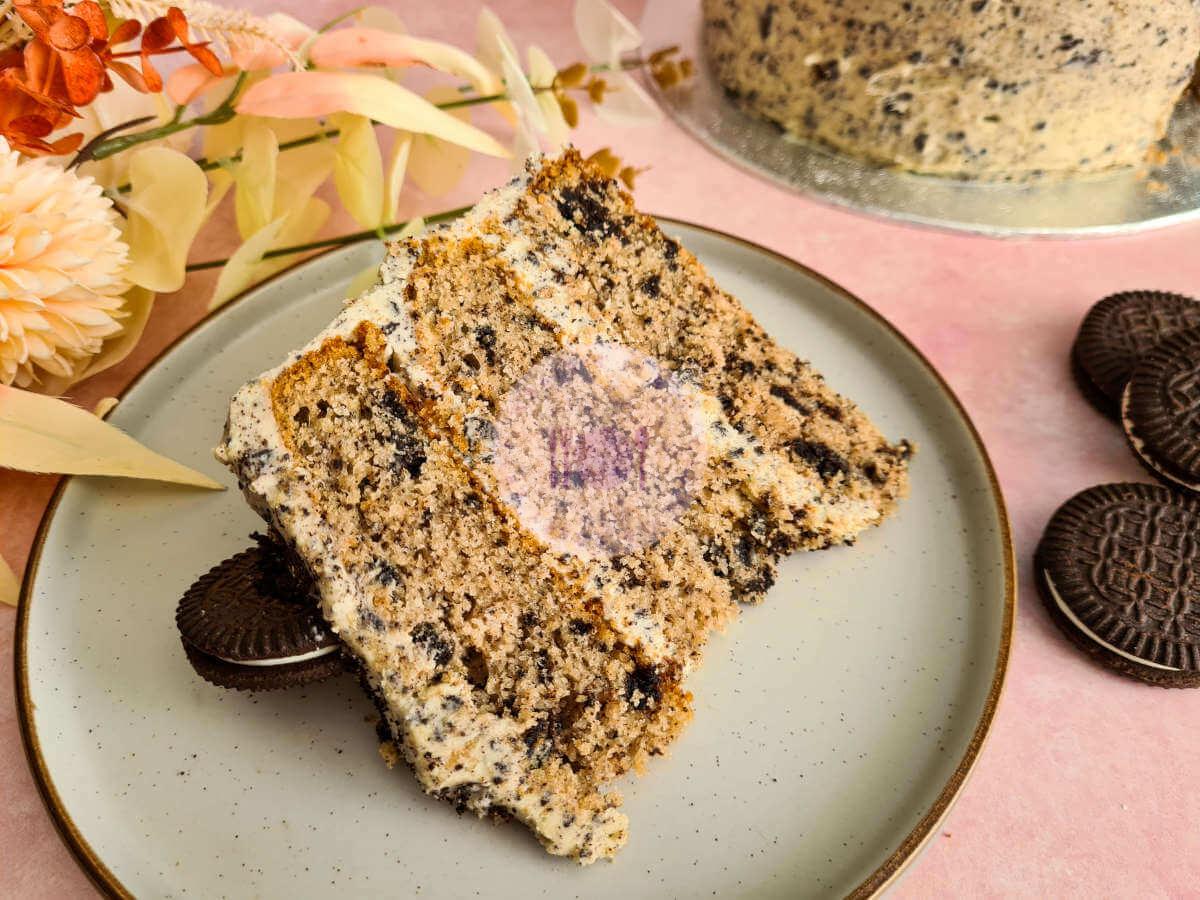
- Slice, tuck in and enjoy! xx
Notes
- Add the apple cider vinegar to the dairy-free milk for 5-10 minutes before use to create a 'buttermilk'
- This recipe calls for a thick vegan cream cheese to hold the shape of the buttercream - it must have a high fat percentage (i.e. coconut base)
- Suitable for home freezing for up to 3 months
- Store in an air-tight container in the fridge for up to 3 days